This walkthrough introduces the main areas of the IntraLLM platform and explains how users move through the system from first login to daily work.
Signing in
Open the platform URL provided by your administrator and sign in with your account (or your organisation's Single Sign-On). You arrive in the Chat workspace — the default landing area.
How the interface is arranged
The interface has three parts:
| Part | What it does |
|---|---|
| Module bar | The primary navigation between areas of the platform (Chat, Workflow, Document, Image, Fine-tuning, Templates, Models, Dashboard). |
| Module sidebar | The sub-sections inside the current area — for example Chat's New Chat, Search and Settings, or Document's Parser, Extract, Classify, Knowledge and History. |
| Content area | Where the workspace itself is displayed. |
The module sidebar can be collapsed to an icon rail using the toggle at its top, giving the content area more room.

Note:
On phones and tablets the module bar becomes a drawer opened from the menu button at the top-left, with the primary areas — Chat, Media, Dashboard, Templates, Models, Train, Workflow, Document — listed vertically.
The account menu
Selecting your account icon (on mobile, the bottom of the navigation drawer) opens:
- Admin Settings — visible only to accounts with administrator permission
- Usage — your own consumption over time
- View Credits — your remaining credit balance
- Theme — switch between light, dark and auto
- Sign Out
1. Dashboard
The Dashboard is the health view of your workspace, and it groups three areas: Overview, Usage and Cluster Manager.
Start here to understand system availability and resource usage before doing anything else.
- Overview — key workspace statistics.
- Usage — tokens, requests and spend over a selectable date range. See Usage & Credits.
- Cluster Manager — Node Status, Container Status, Storage Status and Configuration for the servers behind the platform. See Cluster Manager.
2. Chat
Chat is the interactive interface with the platform's AI models. Users get assistance with tasks such as:
- Writing and improving emails or documents
- Language improvement and translation
- Programming help and code explanation
- Planning, summarising and brainstorming
- Question-and-answer over enterprise knowledge (using a knowledge base)

Within the Chat module sidebar you can start a New Chat, Search across conversations, and open chat Settings. Recent conversations are grouped automatically as Today, Previous 7 days and Previous 30 days.
Detailed guides: Chat Overview, Chat Basics, Managing Conversations.
3. Workflows & Agents
Workflow is a visual builder for multi-step AI processes: chain model steps, tools, conditions and approvals into a reusable process that can act on files and applications.
The module sidebar offers New (create a workflow), History (past runs), and Agentic (agentic automations). Related sub-pages include Skills and Tools.
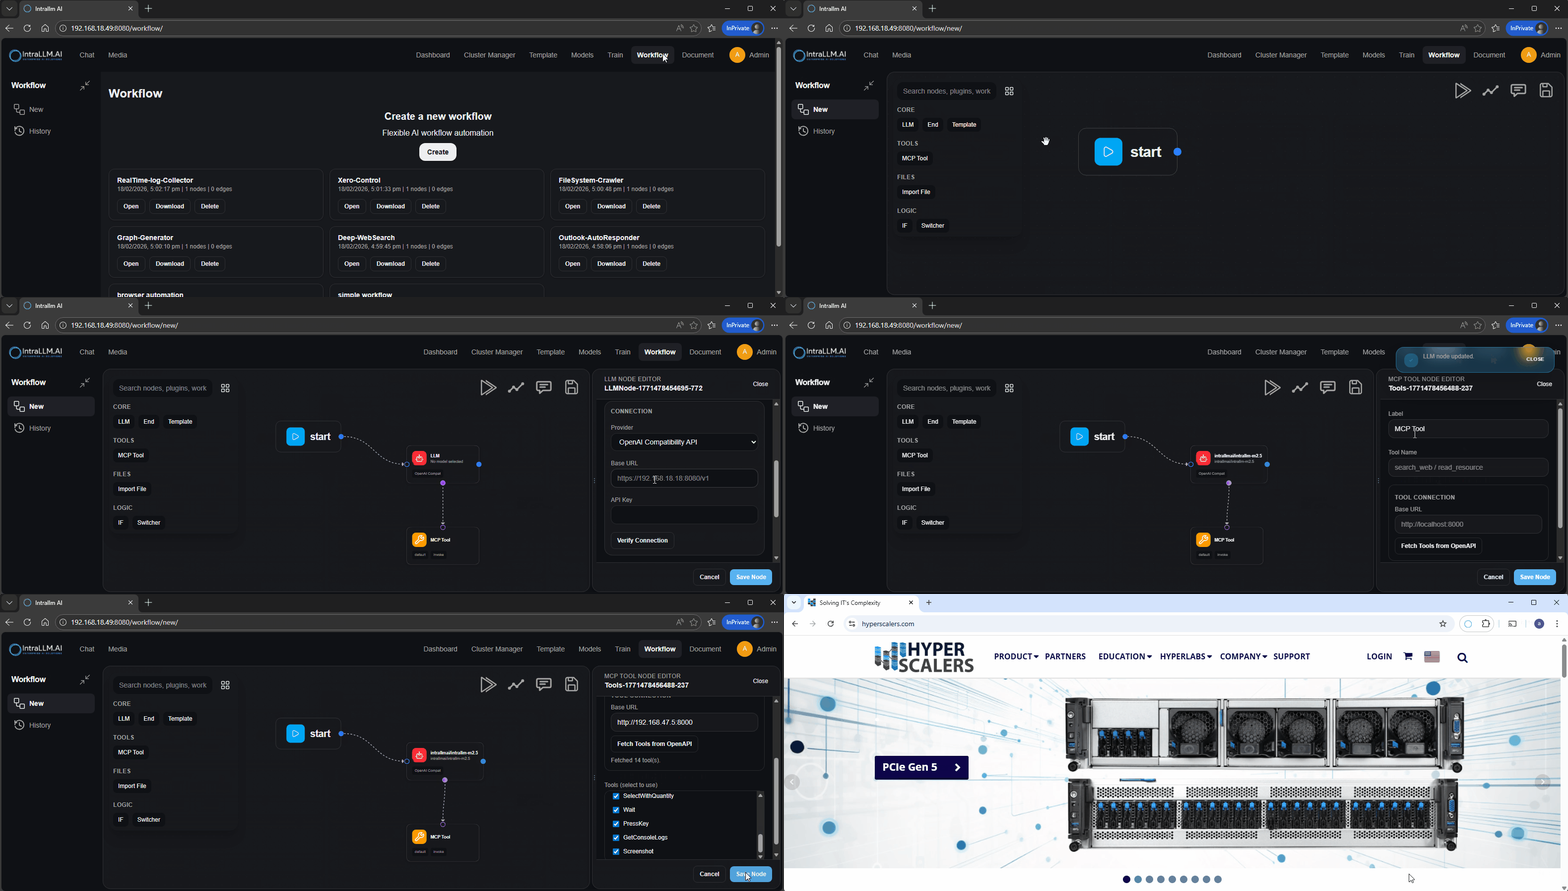
Detailed guides: Workflow Builder, Workflow Nodes, Agentic Workflows, Skills.
4. Documents
The Document module processes enterprise files so AI can work with them. It is split into:
- Parser — read and structure the content of uploaded documents
- Extract — pull out specific fields and visual elements
- Classify — categorise documents against your labels
- Knowledge — build knowledge bases for retrieval-augmented answers
- History — review past processing runs
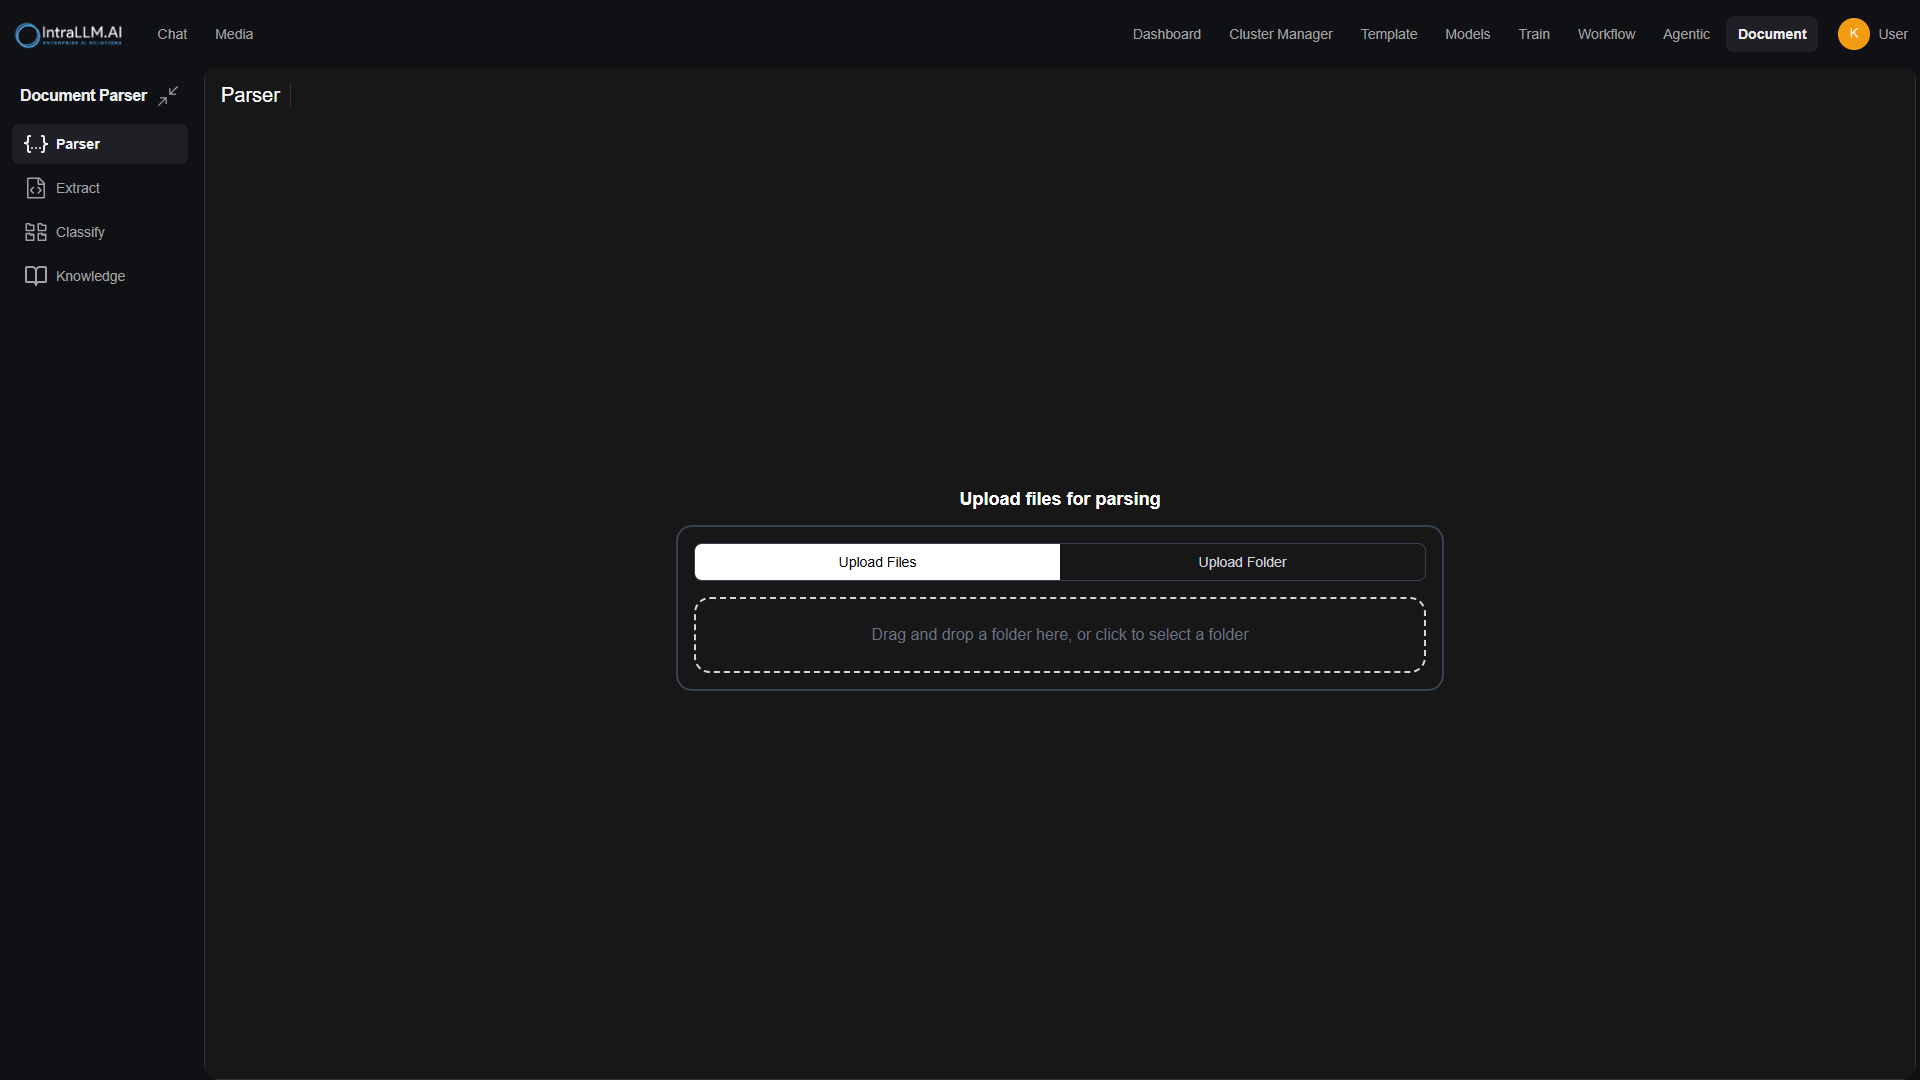
Detailed guides: Document Parser, Data Extraction, Document Classification, Knowledge Bases & RAG.
5. Media
Image is the centralised studio for generative media, with Explore, Image, Video and History in its sidebar. Image and video generation expose parameters and configurations for accurate, high-quality output.
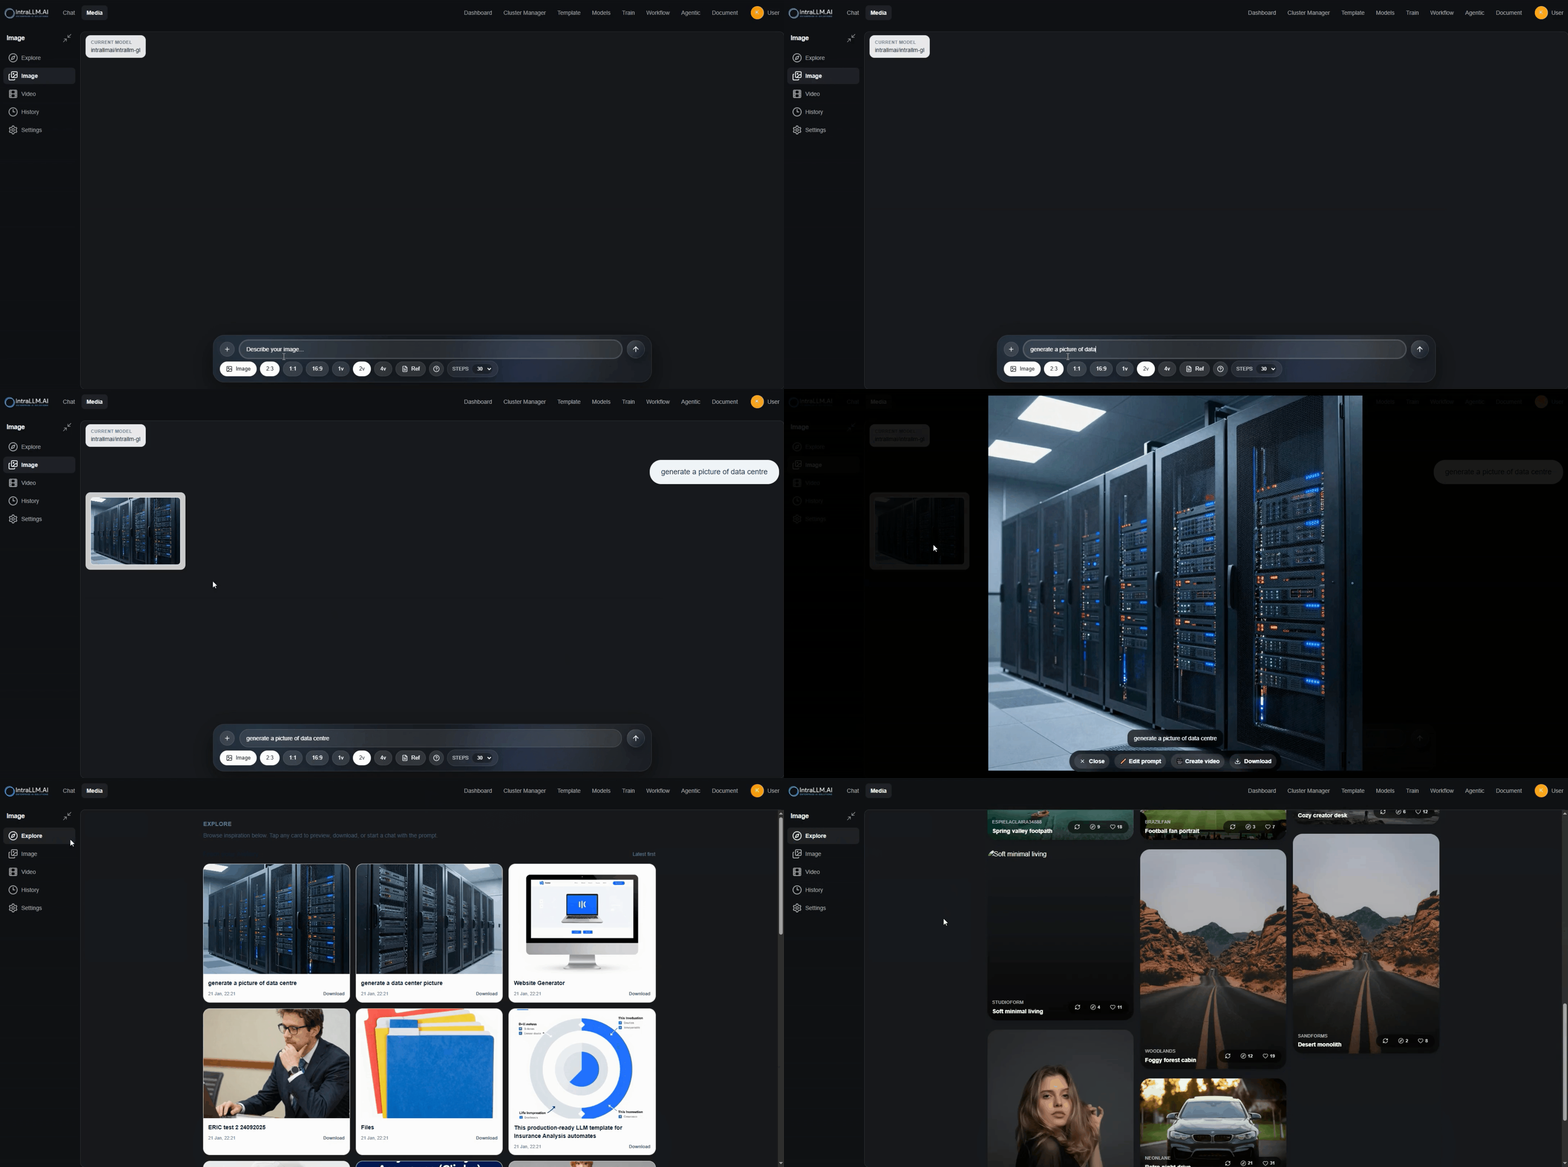
Detailed guides: Image Generation, Video Generation, Explore & History.
6. Fine-tuning (Train)
Fine-tuning adapts a model to your domain using your own data. The sidebar contains Train Now, History and Settings.
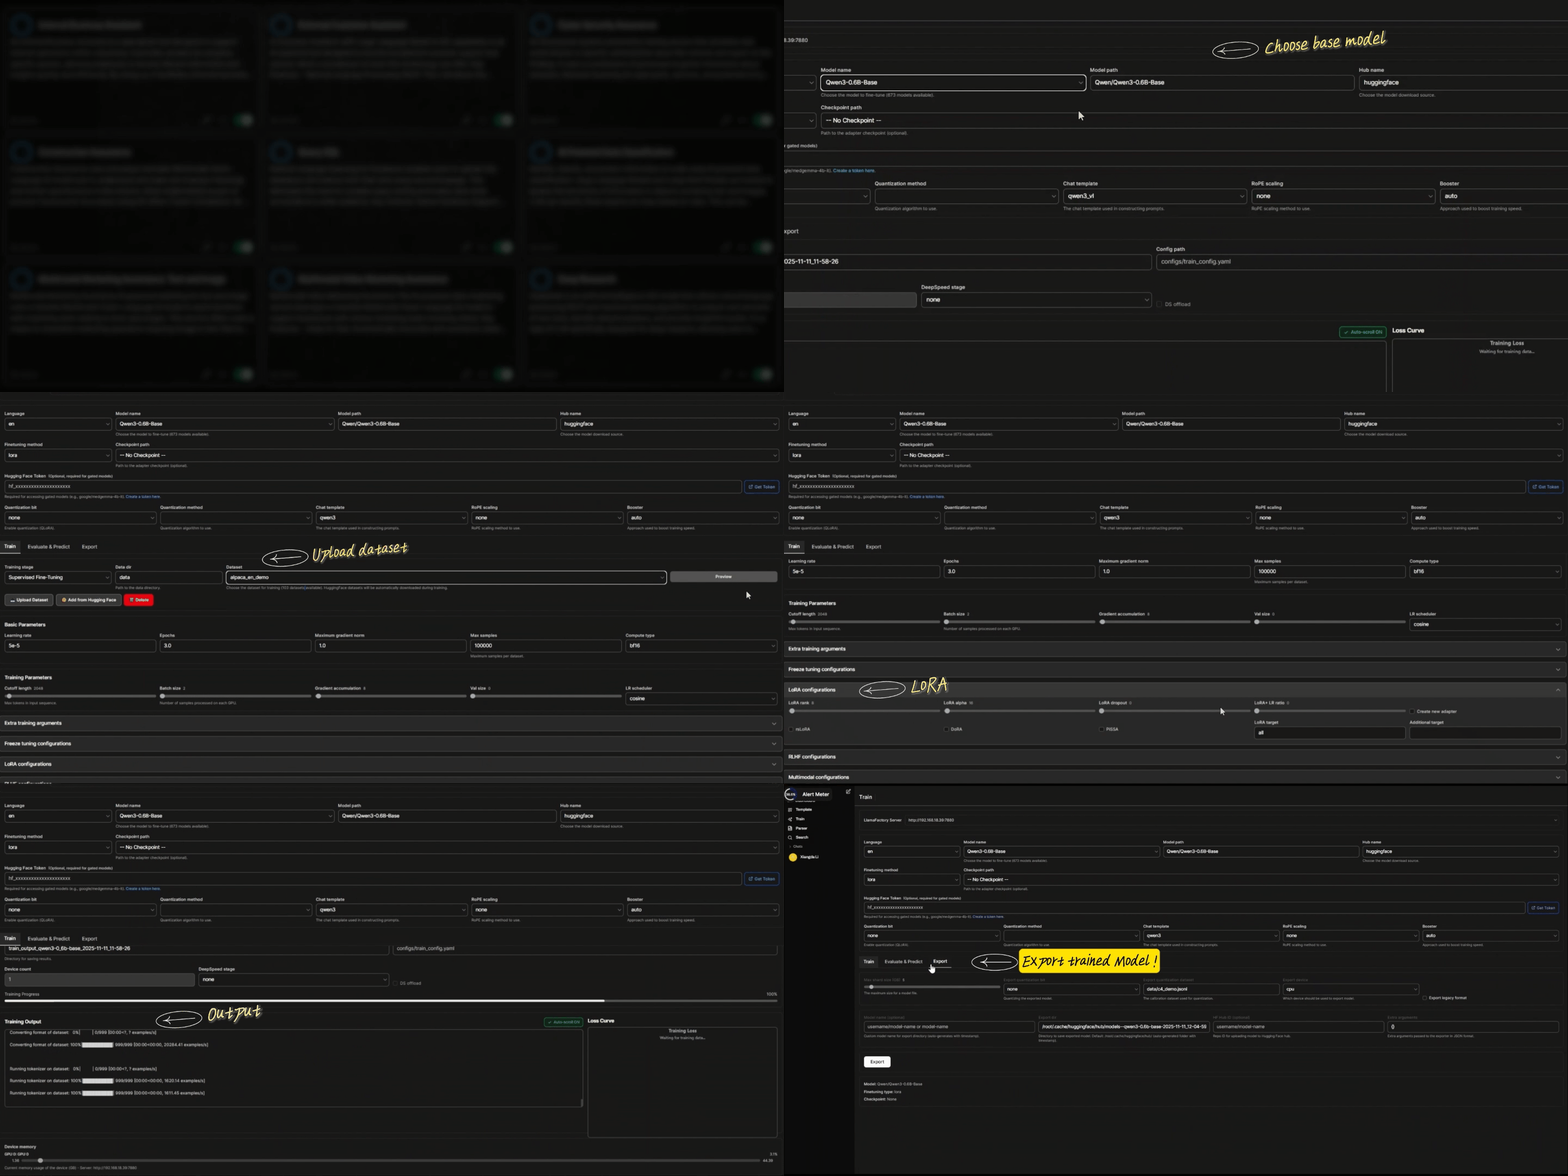
Detailed guide: Fine-Tuning.
7. Templates (Work Station)
Templates are pre-configured AI assistants with their own instructions, knowledge, capabilities and tools. They give teams ready-to-use workflows with minimal setup.
The Work Station sidebar contains Templates, Vector Database (your knowledge bases), Prompt library, Skills and Tools.
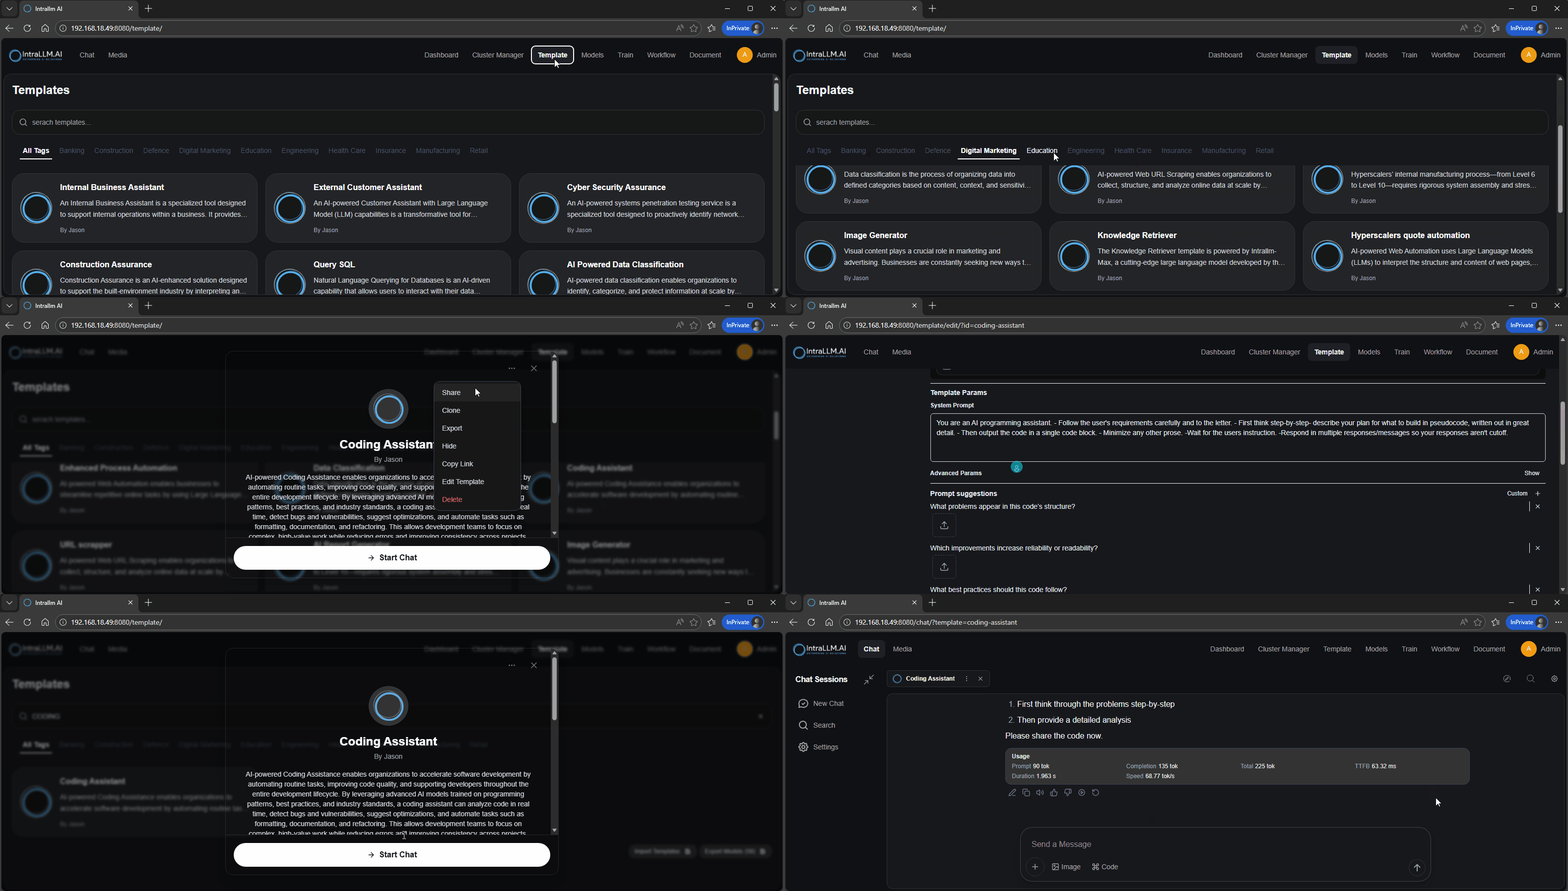
Open a template card and choose Start Chat to use it, or create your own with the add button on the Templates page.
Detailed guides: Using Templates, Creating Templates.
8. Models
Models lists the models available in your workspace and lets you tailor them. The sidebar offers Local Models (installed and custom models with editable parameters) and Repository (base models you can turn into custom ones).
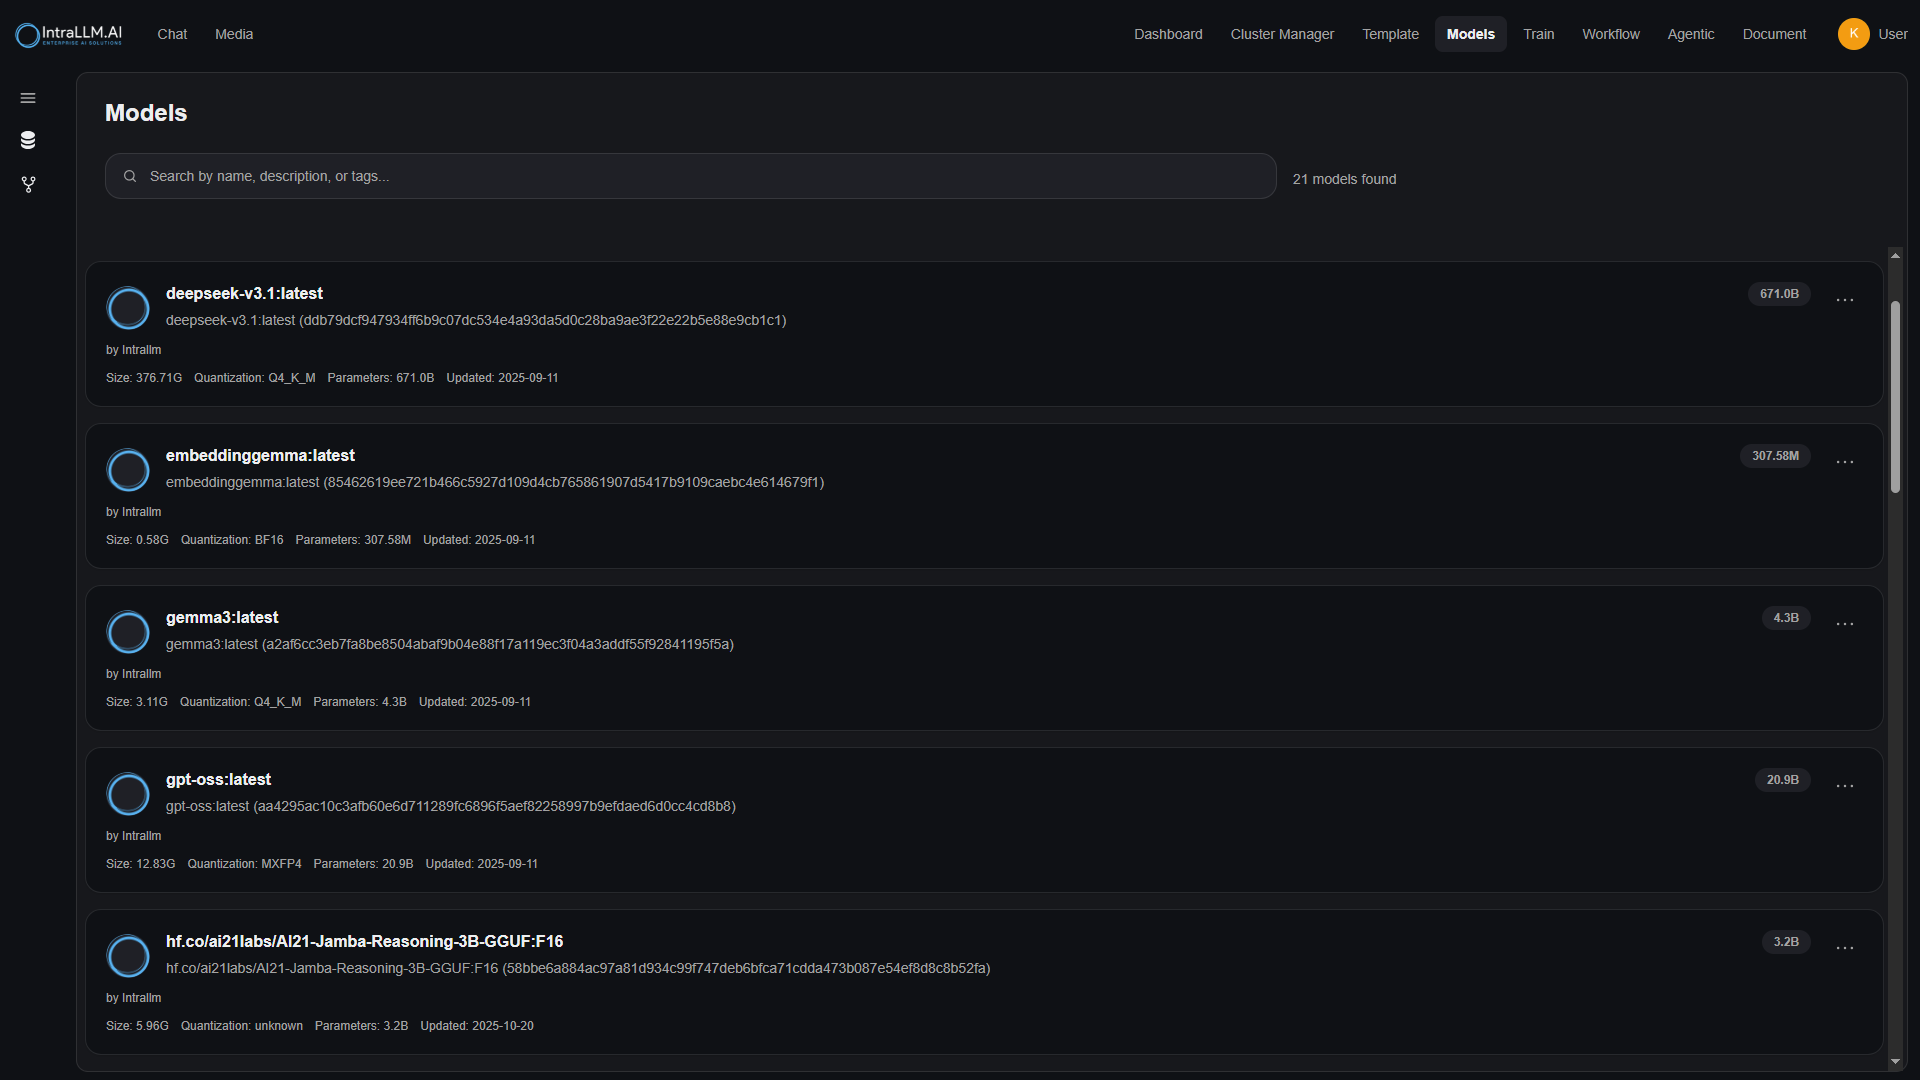
Detailed guides: Models Overview, Model Repository.
9. My Settings
Your personal settings customise how the platform looks and behaves for you: appearance and language, interface and chat behaviour, connections, tool servers, personalisation, audio, chats, and account security. All tabs are covered in My Settings.
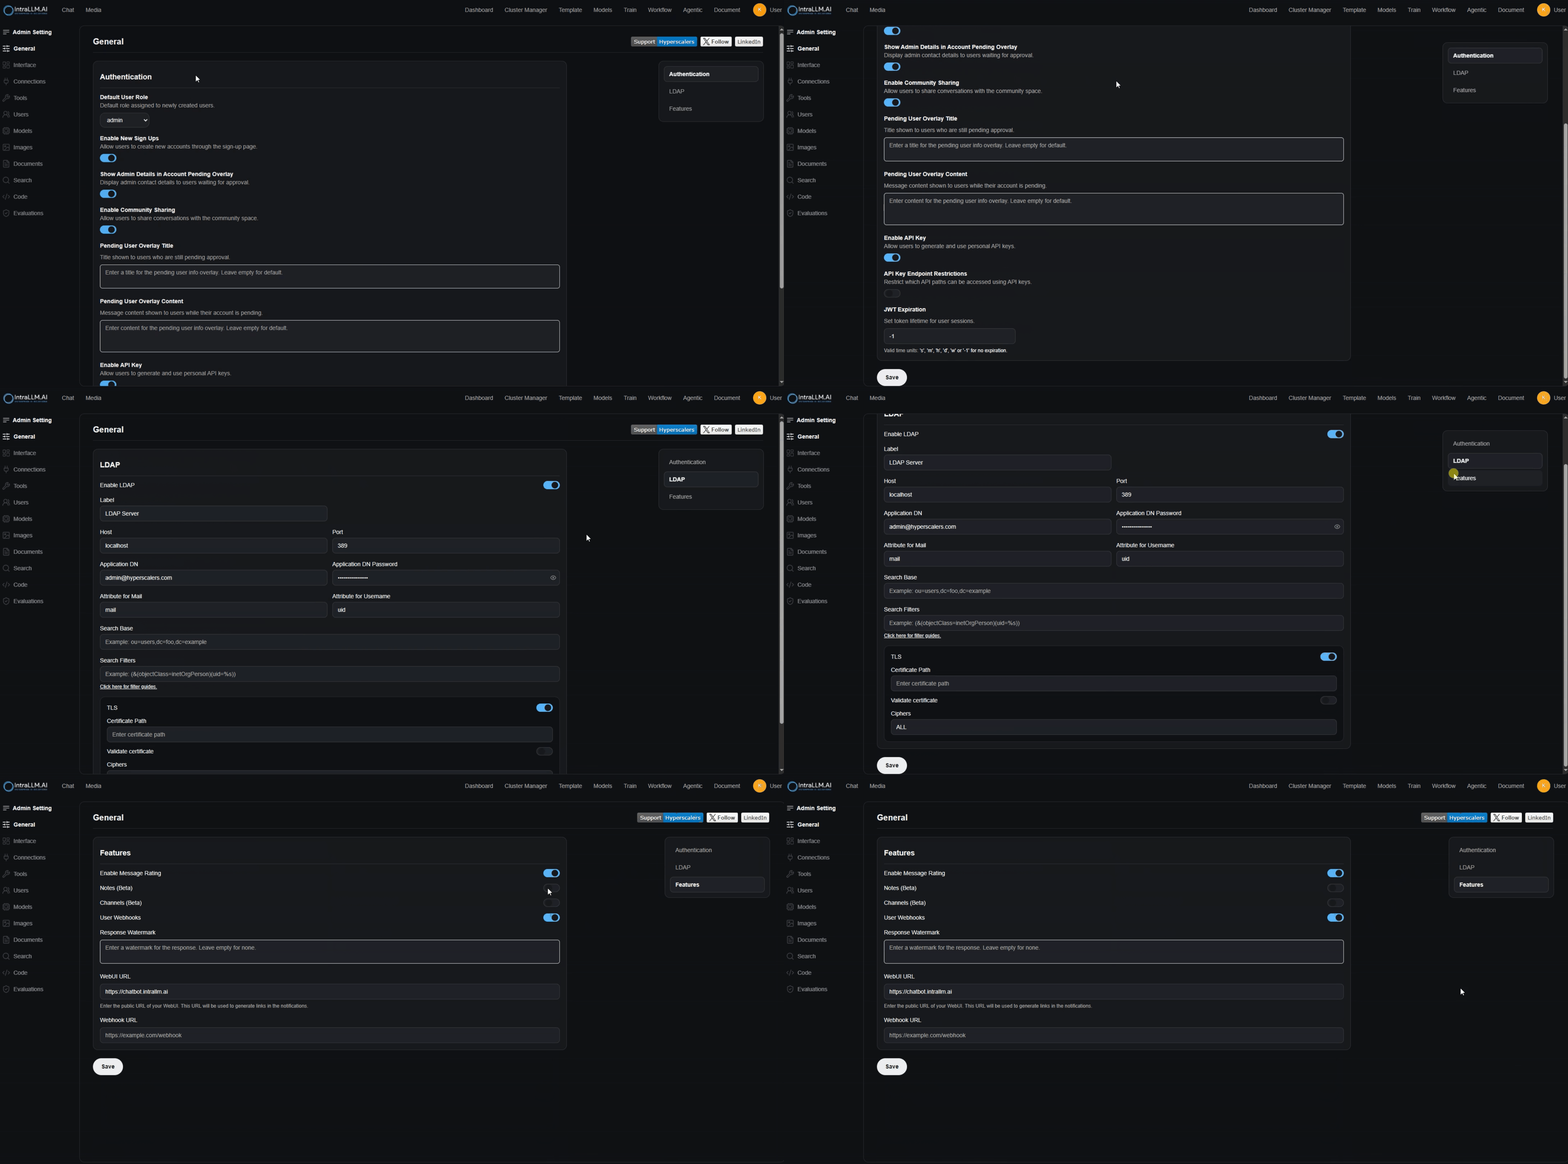
10. Admin Panel
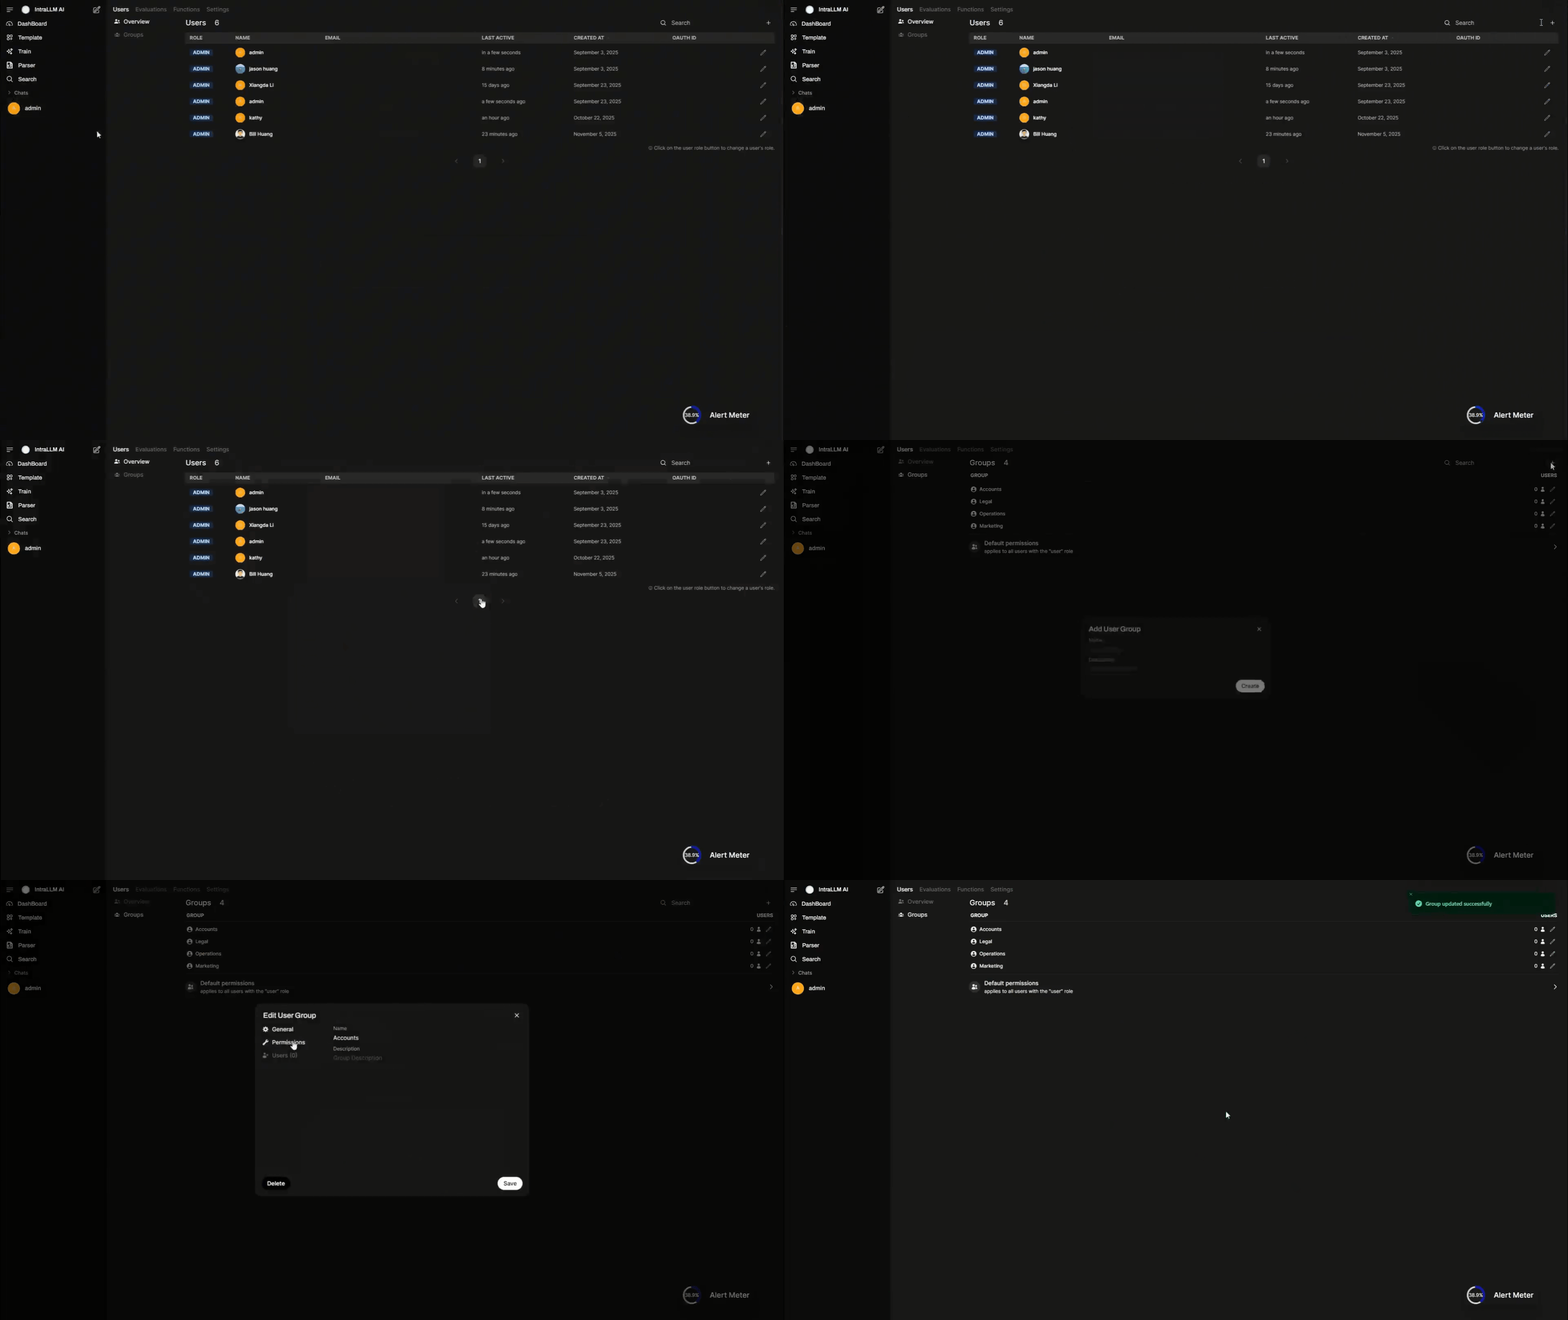
The Admin Panel appears for accounts with administrator permission. Administrators manage users, groups and permissions; connect model endpoints; enable or disable capabilities; set guardrails; configure evaluations; and manage pricing and licensing. See the Administrator Guide.
This walkthrough is a high-level orientation. Each area above links to a detailed guide — start with the Quick Start to put it into practice.